Support
CATEGORIES
xPad+: Step-by-Step Installation Guide
Follow these simple steps to set up your xPad+ quickly and efficiently. Ensure all components are ready before starting the installation process.
Step 1: Unbox and Prepare Components
Open the package and identify all components. Lay them out for easy access.
The package includes:
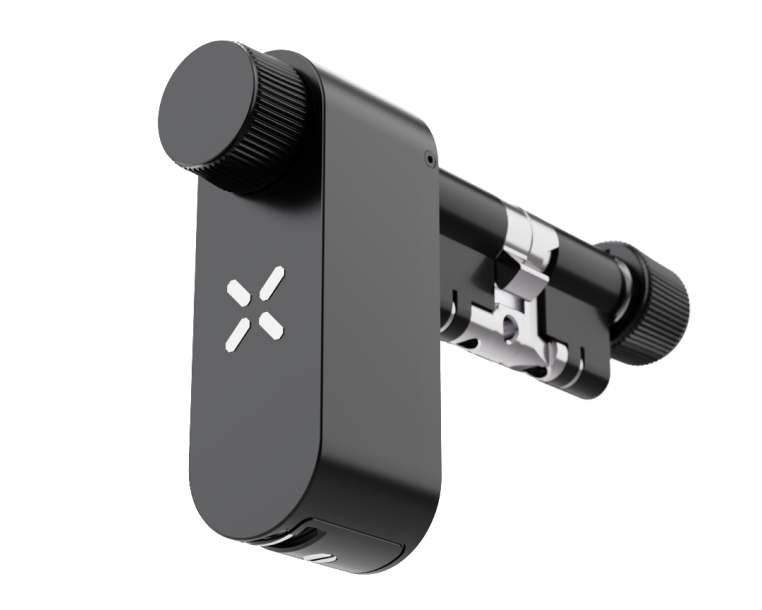
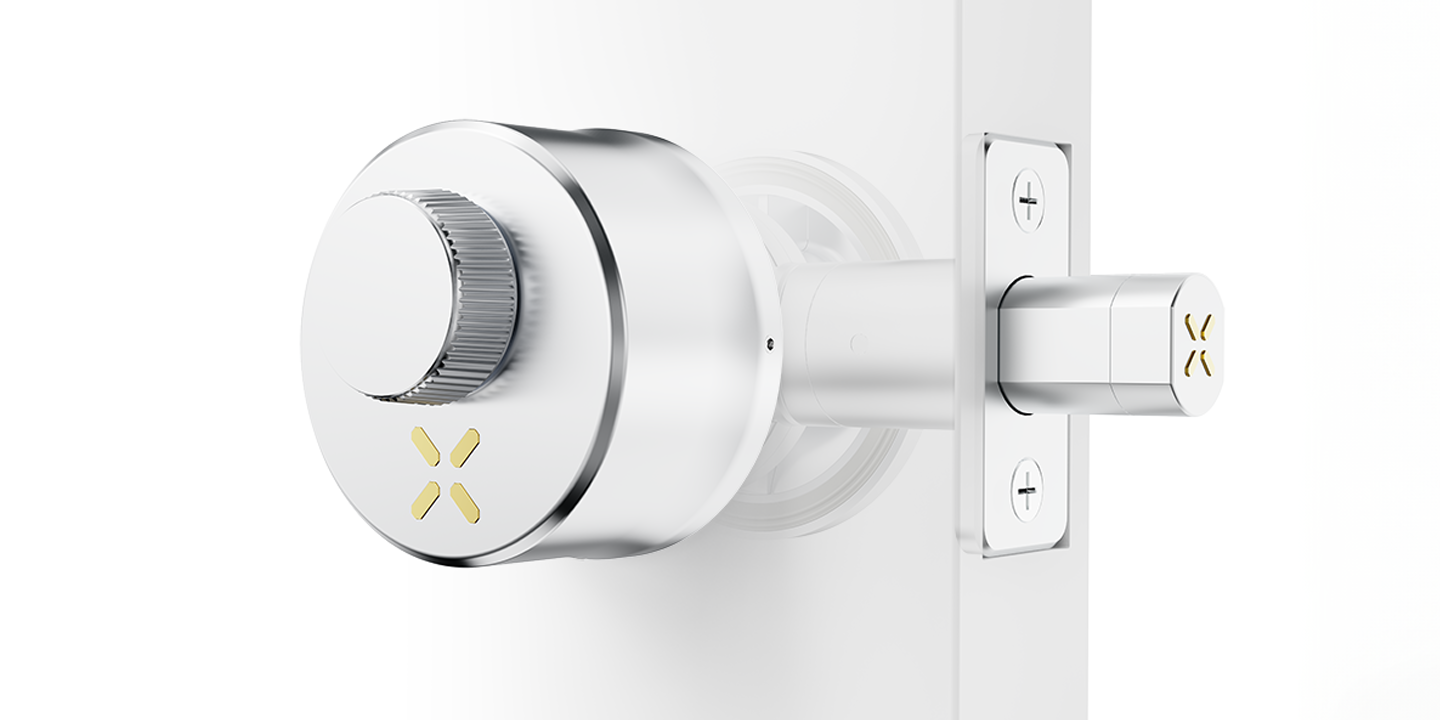
1 x xPad+
1 x 3M adhesive pad
1 x Keypad ejector tool
2 x Screws
2 x NFC Cards
2 x AAA Batteries

Step 2: Remove the Back Cover of the xPad+
Using the Keypad ejector tool, remove the back cover of the xPad+ by inserting the pin into the designated hole at the bottom of the device

Step 3: Place the batteries
- Open the battery compartment cover.
- Insert the batteries, ensuring they are correctly positioned. The xPad+ will power on and emit a beep to confirm proper installation.

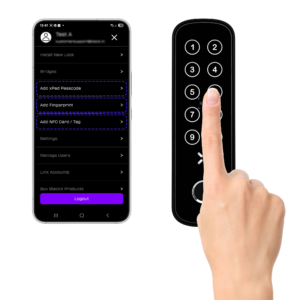
Step 4: Pair the xPad+ with the BLACK X app
- Open the BLACK X App, navigate to the lock you wish to pair with the xPad+, and tap the Settings button.
- In the Settings menu, select Keypad, then tap Add Keypad.
- On the xPad+, locate the Pairing Key in the small hole just above the battery compartment, where the batteries are installed. Use the Keypad ejector tool to press the Pairing Key button. The xPad+ will begin flashing to indicate pairing mode.
- In the app, tap Continue to proceed.
- Select your xPad+ from the list of available devices to complete the pairing process.
- Close the battery compartment cover securely

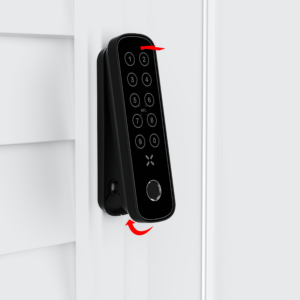
Step 5: Secure the xPad+ to the Surface
Option 1
- Choose a suitable location for installing the xPad+, ensuring it is within 10 feet (3 meters) of the lock. Prepare two screws and a Phillips head screwdriver.
- Position the back cover of the xPad+ on the surface and secure it by inserting the screws into the two designated holes.
- Slide the xPad+ into the back cover and ensure it is securely in place.


Step 5: Secure the xPad+ to the Surface
Option 2
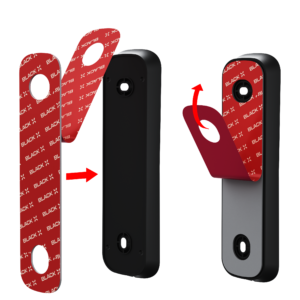
- Choose a suitable location for installing the xPad+, ensuring it is within 10 feet (3 meters) of the lock for standard doors. Note: For steel doors, it is recommended to attach the xPad+ as close to the door and lock as possible to ensure optimal Bluetooth connectivity.
- Peel off the backing from one side of the 3M adhesive pad.
- Carefully place the adhesive pad on the back cover of the xPad+, ensuring proper alignment.
- Peel off the backing from the other side of the adhesive pad.
- Stick the back cover of the xPad+ to the chosen position on the surface.
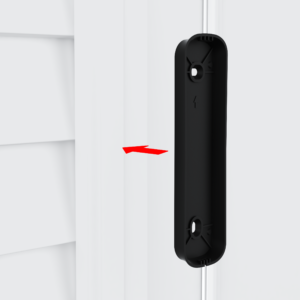
- Slide the xPad+ into the back cover and ensure it is securely in place.
Congratulations! You have successfully completed all the installation steps for your xPad+. You can now configure the unlocking methods.
Set Up Unlocking Methods and Test Functionality
Unlock your door with the BLACK X xPad+ using one of the following methods: passcode, fingerprint, or NFC for seamless entry.
Setting up a Passcode
- Open the BLACK X app.
- Go to the Main Menu.
- Select Keypad passcode.
- Choose the desired lock for approval.
- Click Generate Code.
- From the top bar, select the desired period length. You can also choose “Custom” to manually create a code.
- Enter the required information.
- Click Set a Passcode to complete the configuration.
- Once the code is generated, you can choose to notify the user via SMS or Email by entering their contact details or click complete to finish.
Please note: The passcode must be used for the first time within 24 hours.

Setting up a Fingerprint
- Open the BLACK X app.
- Go to the Main Menu and select “add Fingerprint”.
- Select the lock you want to add the fingerprint to.
- Tap “add fingerprint”.
- choose the access period from the top bar and fill in the required details.
- Tap “add fingerprint”.
- Activate the xPad+ by pressing any numeric key. When the X key lights up, tap “Continue.”
- place your finger on the sensor 4 times, lifting after each scan until the process is complete. The progress of the scan can be seen in the app.
- If the fingerprint scan is successful, the user will be added to the list. If the pairing fails, an error message will appear.

Pairing NFC Card or Tag
- Open the BLACK X app.
- Go to the Main Menu.
- Select Add NFC Card/tag.
- Choose the desired lock for approval.
- Click Add NFC Card/tag.
- From the top bar, select the desired period length and enter the required information.
- Click Add NFC Card/tag to start the pairing.
- Once the prompted screen appears, hold the NFC card or Tag close to the card reader area on the xPad+.
- The xPad+ will emit a beep once the Card/Tag is detected. Please wait a few seconds for a second beep from the lock. If the pairing is successful, the user will appear on the list. If the pairing fails, an error message will be shown – please try again.